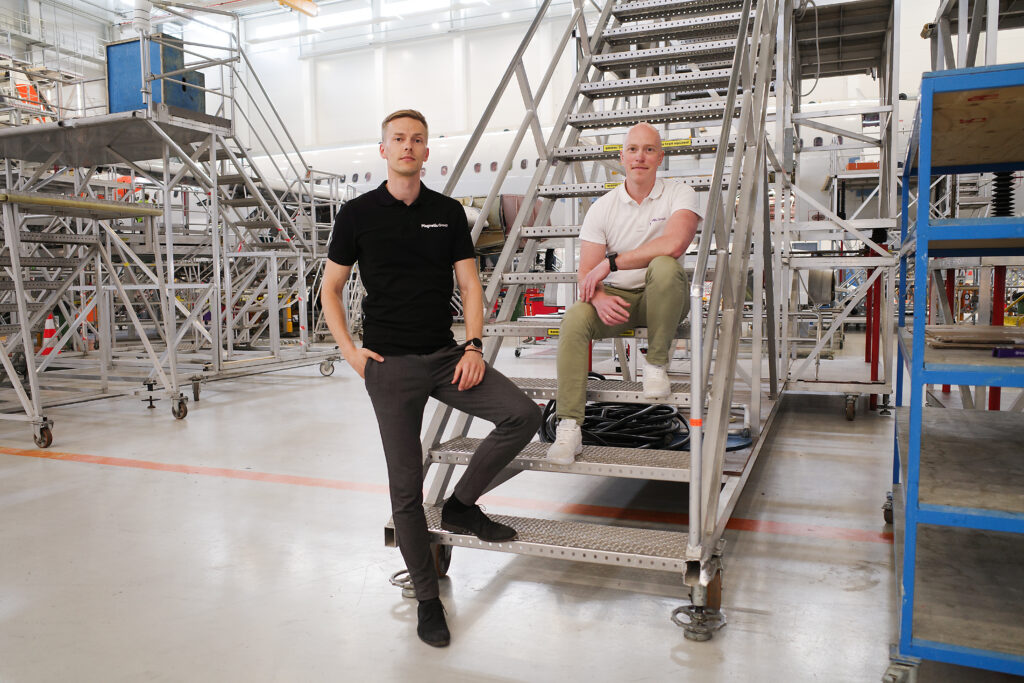
Magnetic MRO, a global provider of Total Technical Care for aircraft operators and lessors, have a comprehensive list of services for airlines and asset owners, and aircraft painting is one of the services on the list. Rihards Priedkalns, Aircraft Paintshop manager, invites to take a closer look into the process of Business aircraft painting.
For us, aircraft painting is not just a service – it is the form of art and each time we opt for the maximum quality which allows us to showcase our experience and expertise in the field. From re-painting to custom liveries, each task is important for us.
The process of the aircraft painting consists of several steps – take an insider look into how aircraft is turned into a piece of art.
Step I: preparation
As the painting work is performed in a dedicated painting hangar, the aircraft is towed into the location and all necessary incoming inspections performed: Incoming paint thickness Is being measured on all aircraft as well as existing damage survey Is carried out.
The inspections are needed to determine the current state of the plane as well as to indicate the possible challenges which can be encountered during the painting process.
Step II: Docking and masking
After the inspections have been completed, the aircraft is docked and masked for sanding and paint stripping operations. The docking is also important for the security of the work area and also has to be set up in mind the whole painting process, allowing team working on the plane access it from all the angles.
Masking for stripping Is carried out with specific aluminium tapes what protects all composite parts and transparencies from paint stripper damage.
Step III: Stripping
As the work begins, several coats of paint stripper are being applied to aircraft metal surfaces. Meantime, all composite panels and wings is abraded to initial primers.
In this process, the old layer of paint is being removed. One of the reasons old paint is removed completely is
weight: often it is aimed to make aircraft as light as possible as it is more economical. Did you know that paint can add up to 300kg for to the total mass of the aircraft? Sounds not much but some studies show that weight saving of 300kg on each aircraft can save millions of dollars a year in fuel for large fleet operators.
Step IV: Sanding
When stripper has completed its work, the aircraft is masked for detail sanding. All fuselage gaps and composite panels need to be manually abraded.
Sanding allows us to remove the remaining paint leftovers and even the surface, preparing it for further painting work.
Step V: Washing and re-masking
Once all sanding works is completed, aircraft is washed with clean cold water and re-masked for primers and sealants. This sets the base for continuous painting work.
Step VI: Corrosion protection pre-treatment and primer
After being washed, aircraft get its corrosion protection pre-treatment and epoxy primers. This step is needed to prevent the corrosion of the aircraft which affects its airworthiness and also allows to maintain the top-notch outlook for longer.
Step VII: Top-coating
In this stage, aircraft is painted with 3 coats of white topcoat what will be sanded down afterwards. Black guide coat is being applied over white topcoat so it`s easier to see what areas require sanding.
Step VIII: Manual abrading
After the topcoat and guide coat is applied, aircraft is manually abraded. Manual abrading is performed to avoid any visible rivets and sealant gaps.
Step IX: Washing and re-masking before painting
Once all aircraft is sanded, it gets washed again and completely re-masked for multiple paints to go on. Here it gets to stage where custom livery lines is being applied to aircraft. In painting, this is one of the hardest and most time-consuming steps.
Step X: Painting
As we kick off with painting work, all colors are painted separately step-by-step. Before any colour is being applied, sanded through areas is getting one more coat of primer.
FIRST COLOR IS ON!
SECOND COLOR IS ON!
FINAL COLOR IS ON!
Step XI: Initial clearcoat
After all paints is applied and dry out, aircraft gets 1st hit of clearcoat for sanding operations. Yes, as you can see, stage of applied clearcoat is not super smooth and there is still no mandatory technical marking applied at this stage!
Step XII:
At this stage, aircraft is completely abraded with fine-grit sandpapers, washed and re-masked for the final hit of clearcoat. In this stage, all final paint defect rectification and application of technical markings is carried out.
Step XIII: Final clear-coating
At the last stage of aircraft painting, the final hit of finishing clear coat is applied. When clearcoat is dry – aircraft is de-masked, cleaned and presented to the customer. Now aircraft is really smooth and shiny and ready to conquer the skies!
AND IT IS DONE!
 go back